
I briefly touched this subject when I wrote about backing up your site with UpdraftPlus. That plugin takes care of the handiwork as in packaging the files and importing the database. However, this is our default way to move WordPress or to refresh our staging sites. With this method, you’ll learn the complete process and control every step along the way. We’ll start from scratch and end up with a copy of the source site elsewhere. It’ll be considered a move only if you delete the source site. I don’t claim this to be the easiest way, but this is what I learned, and it works. At least, this requires no plugins.
Why move WordPress like this?
I’m not a big fan of the 1-click staging site creator tools offered by some hostings, as I haven’t found them to do meticulous work. Having a knack for ensuring there are no remnants of the source site in the database, I always post-process the result with a special tool. You might have heard me mention it in the other article. It’s called Database Search and Replace Script in PHP the use of which I’ll further explore today. For me, there can be no complete move/copy without using that tool, no matter how intimidating it might look at first.
1. Prepare the target folder (domain/subdomain)
First, you need to create an environment where you’ll move the WordPress site, a.k.a the target folder or destination. Create a new directory on your hosting that is publicly accessible with a domain or subdomain pointing to it (can be a subfolder).
- On (cPanel) hosts, make sure the new domain is in the system and points to your folder.
- Test it by creating a static
index.phpfile with just smiley in it, and load the destination in a browser.
Unless this basic requirement is satisfied, you can’t progress further.
2. Create the target database and its user, note the details
In later stages, we’ll import the contents of the source database to the destination. The process requires at least a pre-existing database on the target, but we prefer that each site starts with a separate database. It’s just cleaner, even though every website can have a distinct prefix in the table names. Trust me, it’s more convenient (especially for future import/export) if you have one database per site, as you can avoid some frustrations down the road.
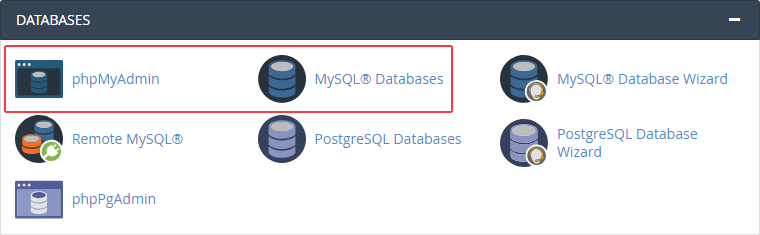
- Find MySQL® Databases in your cPanel or equivalent.
- Create a new database or find out to where you will import.
- Create a new user and don’t forget to add it to the appropriate database with all privileges.
- If you don’t want to create a new user, then add an existing user to the target database.
- Note the database name, the username, and password for later.
3. ZIP the source site
Avoid moving thousands of files via FTP at all costs. Even if you move an empty WordPress site, we are talking about 1700+ files, and if you add your images, plugins, and theme files, it can reach 10 thousand easily. While your connection might be fast, transferring lots of small files is the death of it. Therefore, we’ll package (compress) the site down to a single file. Make sure you have enough space on the source host.
- Find the File Manager in your cPanel or similar.
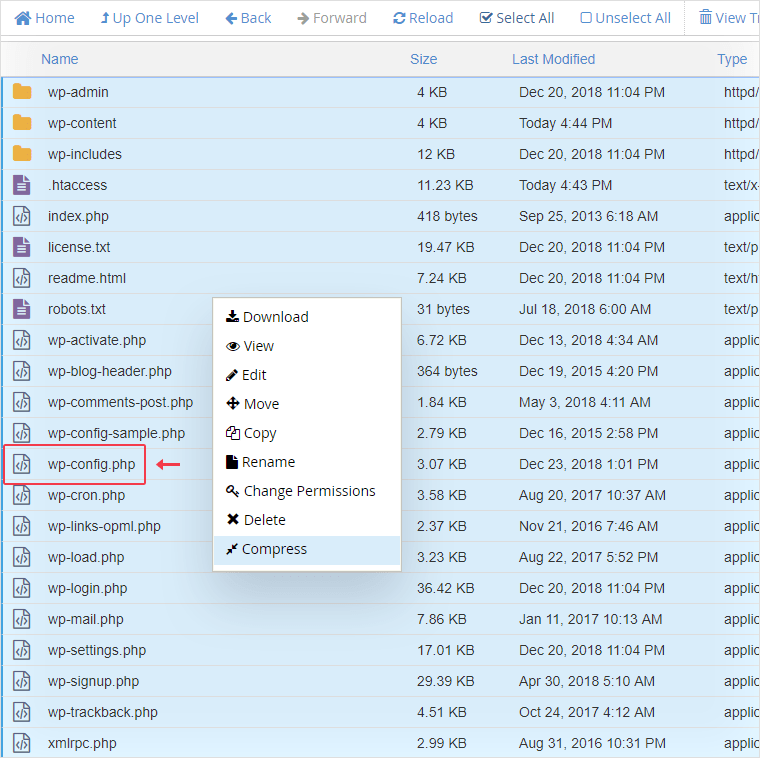
- Identify and open the folder that contains the site you want to move – it must have a
wp-config.phpfile in it. Download this single file separately. It’s the only thing you’ll need to edit (more on that later). - Select all files and folders and compress them. The compress command is usually in the right-click menu or on the toolbar.
- Download such archive to your computer and delete it from the host.
4. Upload the ZIP to the target folder and extract it
- With desktop FTP software or your host’s cPanel File Manager, upload the archive you created in the previous step.
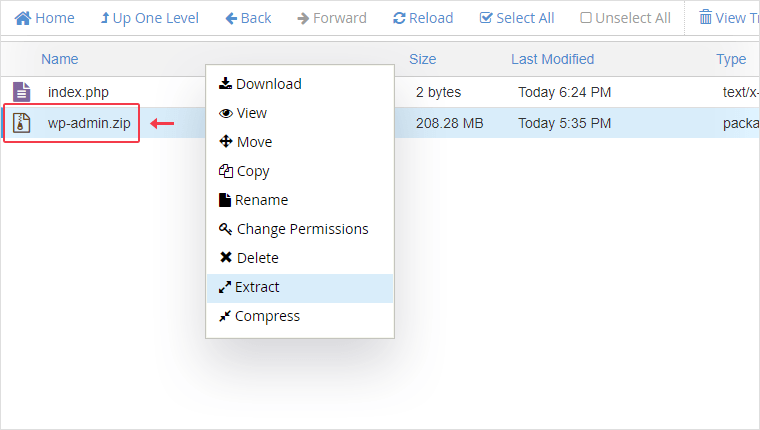
- Instruct the server to extract the files. It’s a standard command in the right-click menus and toolbars of file managers. It must be done on the server (as it’s fast there) and NOT on your desktop!
- Delete the ZIP once done, or anyone knowing or guessing the file name could download your site along with your database password, as seen in the config file.
Make sure the extracted files and folders reside in the folder where you initially placed that index.php with the smiley. If the extraction process created a subfolder, then no worries, merely move everything up one level (drag-and-drop to the directory tree).
5. Change the wp-config on the destination
You’ve downloaded a file called wp-config.php separately in Step 3. That’s the heart of every WordPress installation. When you move the files of a WordPress site, this requires special attention. You can’t just take the database information from the source and expect it to work on the destination. Especially if both source and target are on the same server, the two sites will use the same database: a recipe for chaos. With the data noted in Step 2, you need to change this file. The first three of these options should sound familiar as you created them in the first place.
/** The name of the database for WordPress */
define('DB_NAME', 'database_name_here');

/** MySQL database username */
define('DB_USER', 'username_here');

/** MySQL database password */
define('DB_PASSWORD', 'password_here');

/** MySQL hostname */
define('DB_HOST', 'localhost');
If you have another WordPress site on the destination server, take a peek into another wp-config there and copy the hostname. Of course, localhost should work most of the time. On the rare occasion that it doesn’t, you can get this information from your provider.
Upload the edited file, overwriting the one that you extracted from the ZIP.
6. Export the source database with phpMyAdmin, clean it up if too large
With the files out of the way (and on the server), we can focus on the database. Now the site on the destination is just an empty shell, don’t even bother opening its URL yet. When you move a WordPress site, the files tell only half of the story, as the content rests in the database.
- Find phpMyAdmin in your cPanel or similar (of the source site). It’s customary of hosting providers to offer this tool. If you don’t have it, reconsider host choices, or advanced users could install it themselves.
- On the left, find the database that holds the source site. It’ll have a handful of tables, some of which end with _options or _users.
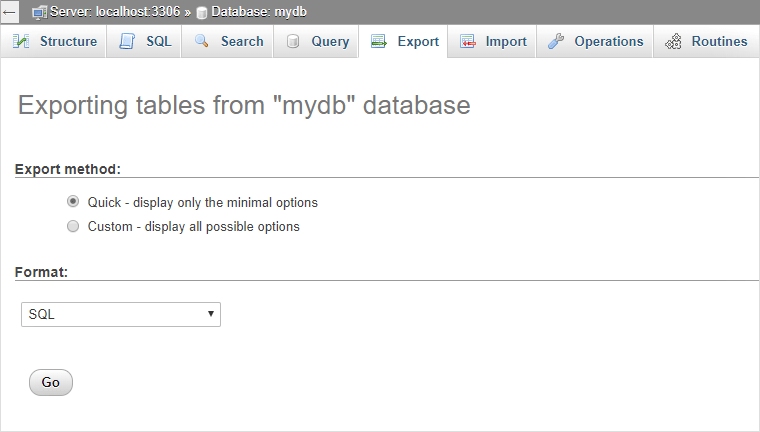
- Click Export on the top bar.
- The Quick option, followed by a click on the Go button is usually enough to start downloading the .sql file.
If you have more than one site in a single database and dozens of tables, look at the wp-config to derive the prefix from this setting: $table_prefix = 'wp_'; If you have to pick tables with a particular prefix among many others, you need the Advanced option which allows you to tick whatever table you want to export.
Incidentally, this is how you make a manual backup, and this is what backup plugins do for you, behind the scenes.
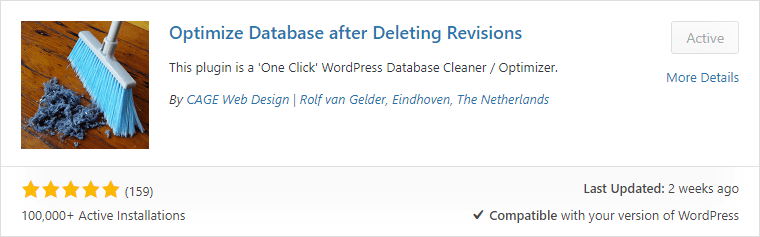
Optional: We always use that plugin with the brush – Optimize Database after Deleting Revisions merely because of our writing habits result in hundreds of discardable revisions. Before exporting the database, it’s worth running this if you have a large site. It helps normalize the file size you need to import in the next step. But since I promised no plugins, this is just an extra and not mandatory.
7. Import the SQL file
At this stage, we move the WordPress database to its new home. Things could get a little complicated. Depending on the size of your database (and subsequently the size of the SQL file) phpMyAdmin might not be able to import it. There are certain file size limits defined in various places – configuration files – that could hinder your ability to upload the SQL dump. It’s worth a try, though.
- Find phpMyAdmin in your cPanel or similar (of the destination).
- On the left side, choose the target database created in Step 2.
- From the top bar, click Import, select the .sql file and click Go.
- You should see:
Import has been successfully finished, x queries executed.
If it’s not successful, you could look around for a solution: it’s not the scope of this article to help you increase import file size limits. However, I can give you a neat workaround that works wonderfully. There is this free tool called BigDump that can munch on a massive SQL dump 💩 and import it even if there are file size limitations in effect.
8. Setup Search Replace DB for post-processing
I want to focus on the post-processing aspect for the rest of this article. Now your site is copied or moved, but it doesn’t know that fact about itself. The codex mentions this tool for advanced users that move their WordPress installation. It’s called Search Replace DB, and it materializes in the form of PHP files instead of being a plugin. Mind you that this is the most radical approach there is and comes with some disclaimers (you can easily break your destination site). However, I feel that with the proper instructions you’ll be fine.
- Create a new folder with a random-looking name via FTP on the destination host, next to folders that begin with the wp- prefix. For example, I’ll call it chickpeasauce! In case you forget to remove it in the end, this will make it a bit harder to guess you have this tool on your site.
- Download the tool from GitHub: Clone or download button > Download ZIP.
- Upload the contents of the Search-Replace-DB-master folder you extracted from the ZIP to the chickpeasauce folder 🙂
The reason behind using this tool is that there are lots of references to the source site in the database. These could be internal links in your articles. Often themes and plugins save the URL of the site as part of a configuration option, like the absolute URL of a background image in a parallax element, or something similar. These values reside nested deep in the database as serialized values. Some people trust that their hosting’s staging site creator and deployment tool performs these changes, but I don’t. I’ve seen many sites that have been moved incompletely, and they are very frustrating to use.
9. Search and replace the source with the target host
Open example.org/chickpeasauce to access the Search Replace DB script on the destination site. You’ll see an interface with red accents, populated with your database details.
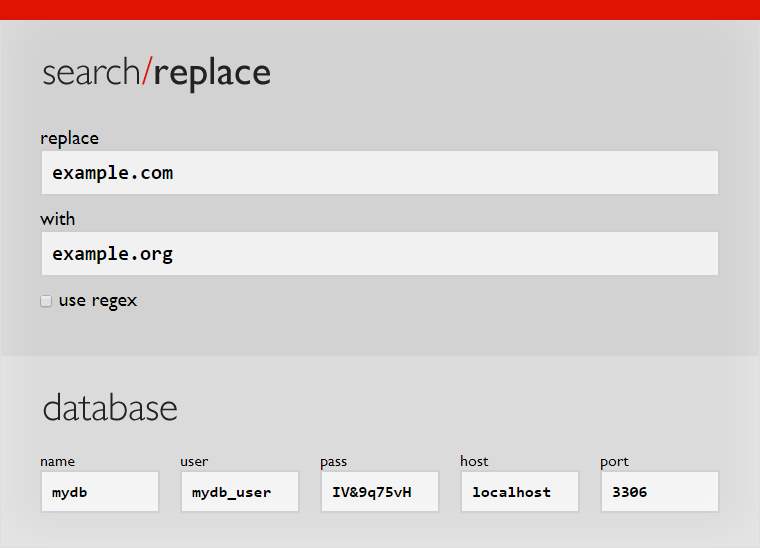
Depending on the URL structure of your source and target sites, you could perform one of the following replaces.
- Simple move across domains:
replace example.com with example.org - Spawning a staging site:
replace example.org with example.org/staging - Moving to production:
replace example.org/staging with example.org
Tip: Never include the trailing slash. You can add the protocol, as in replacing https://example.com with https://example.com but only if you are explicitly in the process of enabling SSL.
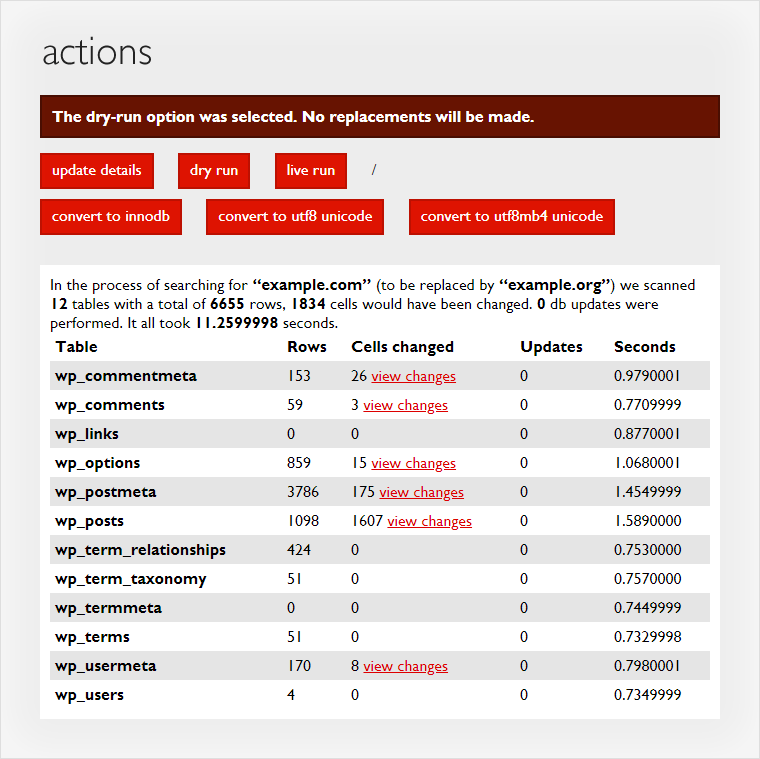
Preview how many changes would occur by performing a dry run. Click live run if everything looks good! There could be thousands of cells changed.
Security alert: Don’t forget to delete the tool after you’ve verified that the target site works. It represents a significant security threat if you leave it out for attackers.
Step 10 concludes the move of your WordPress site. YAY! 👏
10. Test the destination site
There is nothing left to do except to marvel at your creation log-in to the wp-admin on the destination site. Since it’s an exact copy, your credentials are the same as on the source site. I hope it worked well for you too and you are not afraid anymore to move WordPress. Once you’ve done this at least once, it’ll be much easier to comprehend what’s going on.